Web Proxy
senhasegura Web Proxy is the proxy that runs directly in the browser. Just be a modern browser with HTML5 and WebSocket support. You do not need to install agents on the operator user workstation.
Through the web browser, the user will have access to target devices operating in the following protocols:
SSH and TELNET: With the same features as senhasegura Terminal Proxy
RDP: The slight difference between RDP Proxy is in uploading and downloading files without the possibility of sharing resources from the source machine. However, with the same usability to operate remote applications;
HTTP: Authenticated access to a destination website through an embedded and isolated browser;
VNC: Protected access to devices with VNC support;
X11: Protected access to devices with X11 support;
By being in a browser, the integrations are not the same in regular dedicated end-to-end clients. But the main features are provided by quick and practical means.
senhasegura authenticates on the target device using the native protocols of the requested session, delivering the user an already established session, with no risk of exposing the credential used.
Performing access
senhasegura Web Interface can start proxy sessions from different pages:
Through the credentials report on PAM module;
Through the SSH Key report on PAM module;
By searching for credentials on the desktop Desktop module
List page list the credential or SSH Key, and if the operator has permission to run a proxy session, the user can use the "Start a session" action.
HTTP Web session
The HTTP web session takes place in an isolated environment containing an optimized and protected browser to perform access to websites. User interactivity is similar to the RDP session.
The browser is configured to prevent the opening of new tabs. All graphical components of the browser are hidden. Even the interaction menus and hotkeys are locked.
To set up a website to be accessed, you need a complementary procedure, compared to other devices, where you only need the device with connectivity and an access credential.
Websites require an authentication setting. This setting allows our embedded browser to perform the login steps automation.
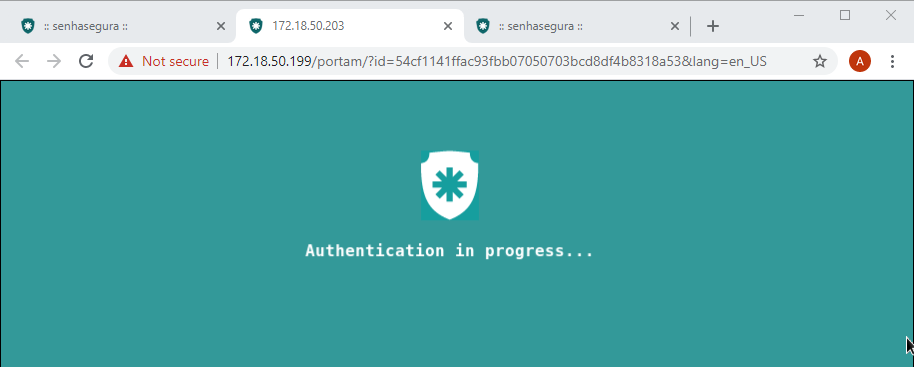
During this authentication process, the user will be presented with a protective banner that prevents the user from interfering and seeing authentication in progress. Your interactivity will be returned only when the login process ends with success or failure.
Modern sites have confirmation steps using Captcha and MFA Tokens to prevent automated systems from performing unwanted access. In these cases, Web Proxy returns interactivity so that the user continues the authentication step. Usually, these steps occur after user and password confirmation. But if more automated steps are required after external submission, you can continue from this point on.
Web Session Parameters
When you need to start Web Application sessions into a device with HTTP or HTTPS connectivity, you have to create first a session parameter, so senhasegura knows how to authenticate in the web page that will start the session.
The menu is accessed in PAM Core ➔ Settings ➔ Access ➔ Web sessions. In this report, you will see all automation already registered. To create new ones, go to the report action New.
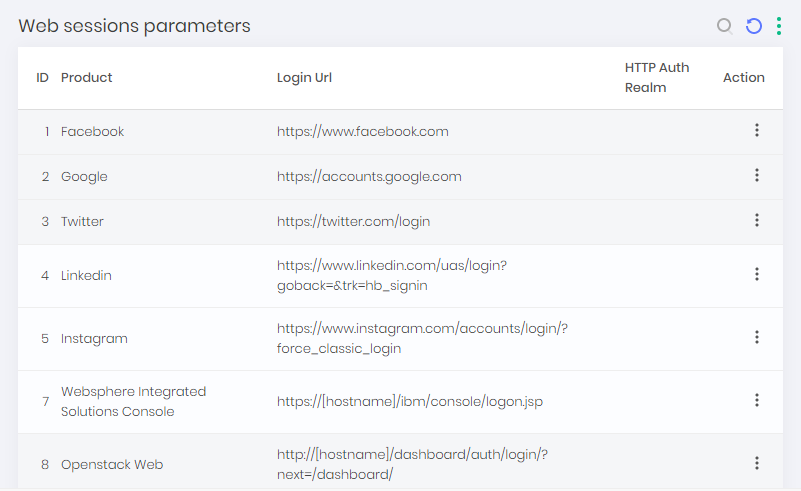
On the registration screen, fill in the Device product field with the same product as the Device record. This will be the necessary link between the configuration and the device to perform the automation.
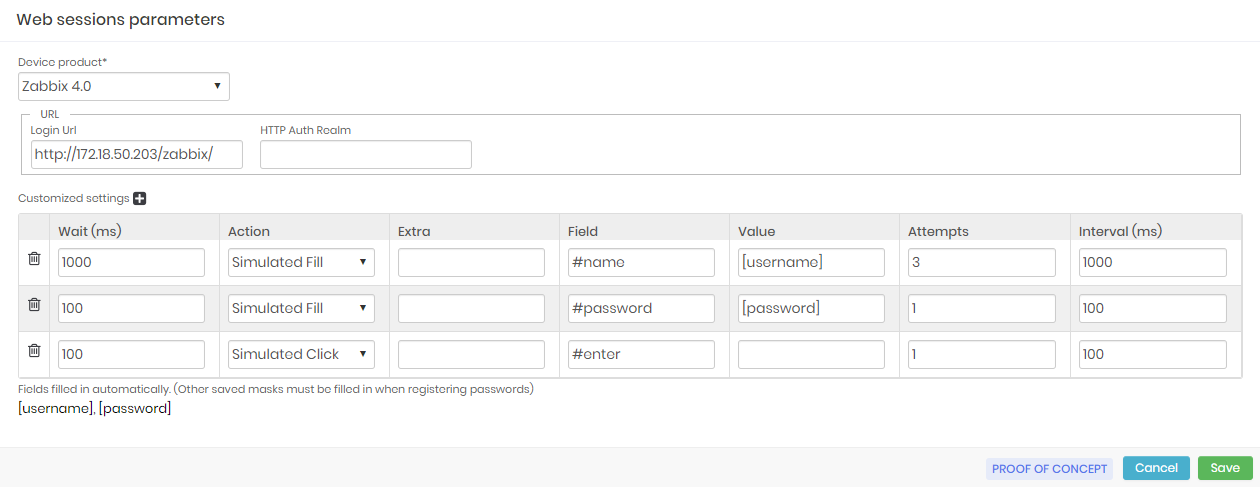
In the Login URL field, provide the website login URL. If the website uses HTTP authentication, provide it's password in the HTTP Auth Realm field.
In the grid below, we'll configure each authentication step. The actions are composed of the following fields:
Wait (ms): Wait time in milliseconds before acting. The first action must have this time adjusted to the rendering time of the page;
Action: This is the type of action that will be performed simulating a user who is authenticating to the Website. Some of these actions have additional properties.
- Simulated Click: An automation that generates clicks directly through the site Example: The console performs the click
- Real Click: A real person clicking is a real click Example: A real person acts clicking
- Run JS command: Inserts a command in javascript to execute a command
- Mark: It is used to mark the checkboxes and radio buttons
- Simulated Fill: Automated field filling (You need to fill in the Value field)
- Real Fill: Fields filled in by a real person (You need to fill in the Value field)
- Roll: List selection, data listing
- Select: Contains a Select element with options to be selected Example: It is a drop-down list with elements for the user to select
- Submit: An HTML element of type submit for submitting data Example: It is a button used to send data that sends all the values filled in the form
- Captcha: It is a challenge and response test used to determine if the user is human Example: May contain letters, numbers, etc. In different fonts, different handwriting, etc
Extra: This type of action will be performed by simulating a user authenticating himself on the site. Some of these actions have additional properties
Field: Is the jQuery selector used to identify the target field of the action;
To inspect an element:
- Right-click on the element you want. For example, the Password field, email, buttons, etc
- Go to the element and right-click again on Copy ➔ Copy selector
- Paste in the Field referring to the desired action
Value: This is the value that will be used to fill the field. The values can be fixed by simply typing their value; You can fill in using tags such as
[username]and[password]; The custom tags defined in the Additional settings tab of the credential registration, in the Extra field grid, can be used here;Attempts: Number of times automation should attempt the action if it fails. The reasons for the failure often vary between a wrong selector, an inappropriate action, or even not having had time to render the page for automation find the desired field;
Interval (ms): This is how long automation must wait until it retries the action. Interestingly, that the first action has an adequate number of attempts and interval time;
The other automation steps can rely on smaller values for the Wait , Attempts and Interval field, as they will usually already be available if the first field has already been found.
For authentications that include later steps, fit the wait time of the initial actions of each step as if they were the first.
If you need to authenticate a Captcha, indicate the selector of the element that hosts the main component. Only this component will be presented to the user for him to finish the process. This isolation prevents the user from modifying any other value already populated.
Some more sophisticated captcha technologies need to present the entire authentication page because they do not allow manipulation of the component that hosts it. Therefore, terminate the automation at the time of the captcha. The session is already being recorded and if the user modifies authentication, you will have the video to prove it.
When you log in you will see the embedded browser access the website. Once the authentication page loads, you will be presented to a shield that prevents user interaction. This means that the authentication is still running.
In the end, if the automation is properly configured, the user will be released to use the website.
File transfer
Transferring files in HTTP Web sessions is similar to RDP Web sessions. You must drag the file into the tab that contains the session.
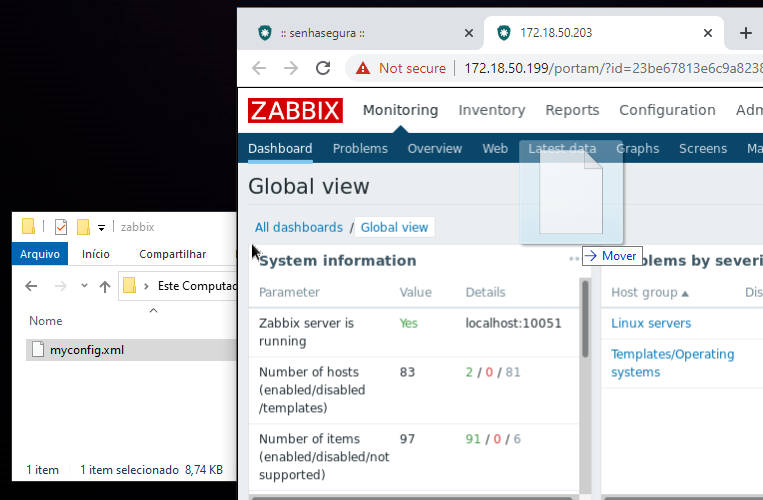
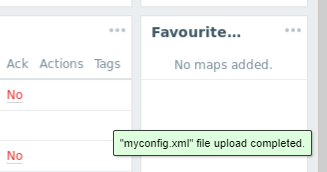
The file will then be transferred to a location visible only by your session. A confirmation message appears in the lower right corner.
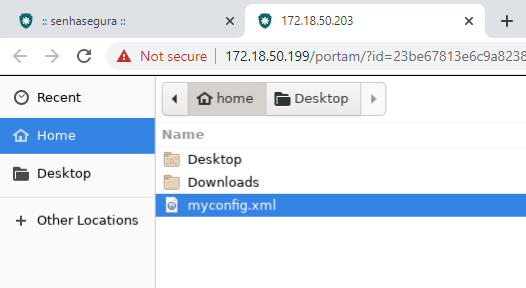
On the website you are operating, if there is an upload field you can browse the home folder of your session. There will be all the files you uploaded.
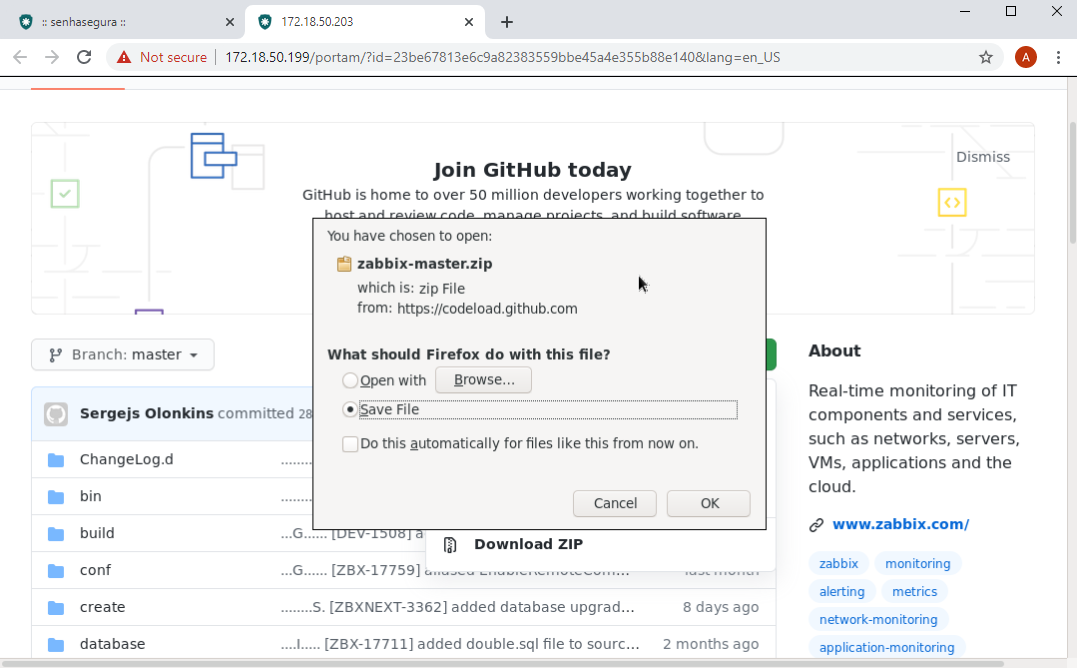
For downloads the usability is even better. You will be asked if you want to download the file. Choose the Save file option and confirm.
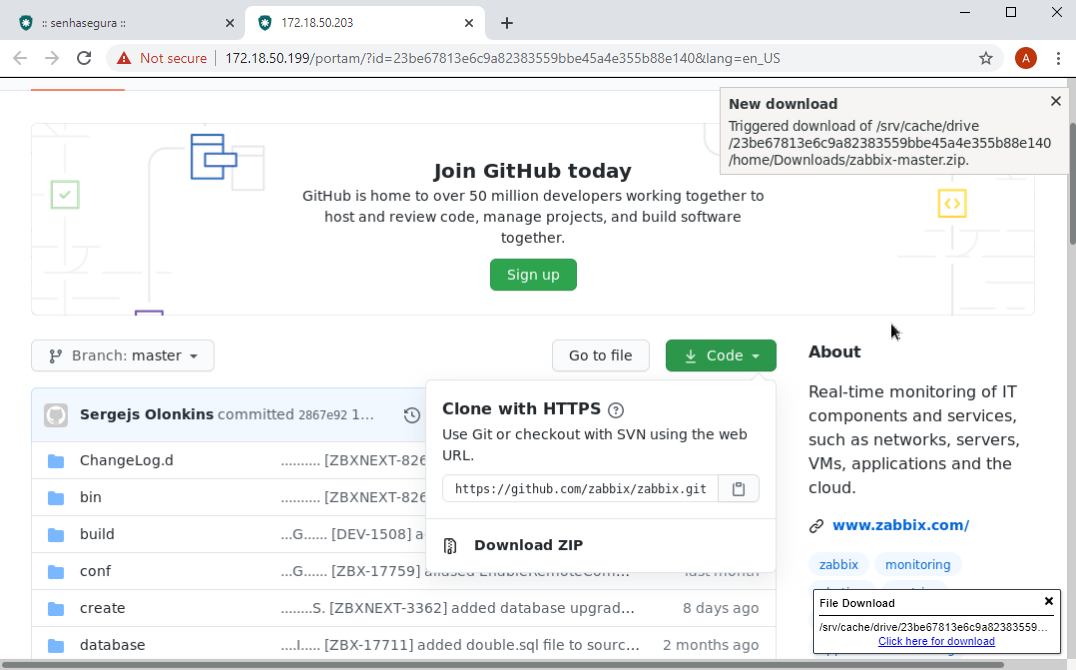
At the end of the download, a message in the upper right corner flag that a new download has been made. This message is in the embedded browser.
In the lower right corner you will receive a message with a download link. This message is in your browser. That is, in the operator user's browser.
This download link will download the requested file from the target website.
These steps occur because you must first download the remote file to the area accessible by the embedded browser, and then download this area belonging to the HTTP Web session into your source workstation.
Transfer files in Web RDP session
When you start an RDP Web session, and the "session transfer" file is enabled, Web Proxy will make a mapped drive available in the target session on a mapped G (by default) drive named as senhasegura.
Through this mapped drive, the user will have access to files uploaded to the destination and transfer files from the connected device to download to the workstation.
To upload, drag a file from your source workstation into the browser window that hosts the session and a progress bar for this upload in the lower right corner of the session. At the end of the transfer, this file will be available in the root folder of the G drive.
To download, copy a file from the target device into the G:\Download folder. A download window will prompt in the lower right corner of the browser, and a message will be shown at the window when the file is transferred.