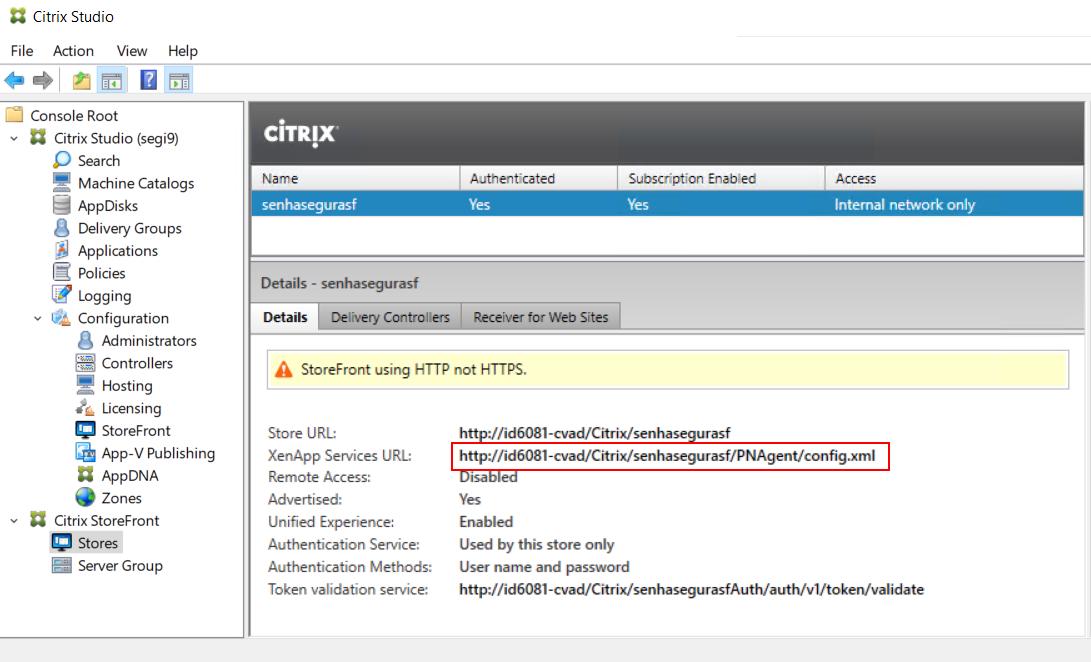
To obtain it, open Citrix Studio. On the sidebar, go to Stores and copy the XenApp Services URL value, as shown below:Citrix Studio Stores
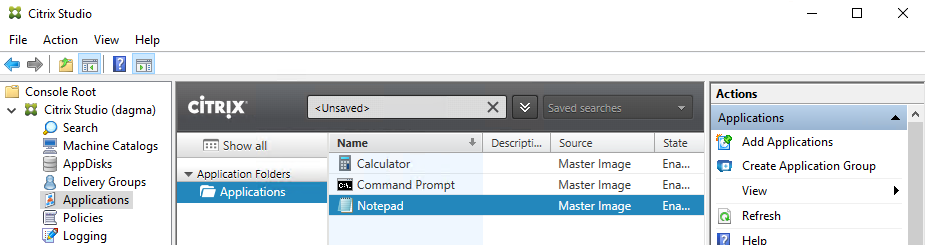
Citrix Studio Applications name
To obtain the application's name, open Citrix Studio. On the sidebar, go to Applications and copy the application's name, as shown below:Citrix Studio Applications
Access the menu PAM Core ➔ Settings ➔ Access ➔ RemoteApp
Type a Name for this RemoteApp
Select User simulation on the Type field
Fill the Application path with the Citrix XenApp Services URL and Application name separated by a pipe, as the example below:
Create the folder C:\senhasegura_share on the user's workstation to allow easy file sharing.
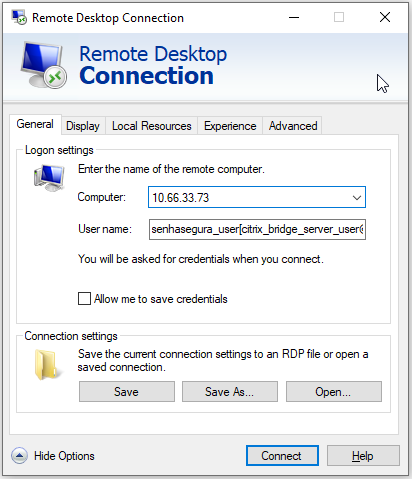
From the user's workstation, start the RDP client
Remote Desktop Connection
On the RDP General tab, complete the following fields:
Computer: senhasegura Server IP or URL
User name: Fill in the connection string in the format senhasegura_user[citrix_bridge_server_user@citrix_bridge_server_ip]
On the Local Resources tab, uncheck the option to use workstation printer resources
Click on the More button to configure disk unit sharing. Select drive C: and click on the OK
On the Programs tab, select the option Start the following program on connection and fill in the Program path and File name field with the same address as the RemoteApp configuration in senhasegura
Click on the Connect
RDP Proxy
In the Select an access option field, select the application configured to run and click on Access
The remote session will be started along with running the configured application.