Registering notifications
To register a new notification type, follow these steps:
Access the menu: Settings ➔ Notifications ➔ Settings
Click on the New notification register action button, and fill in the following fields:
Field Description Notification name Name that will identify the notification. Ex: SSH Command Audit Detected Email If this option is selected, notifications will be sent via email Screen If this option is selected, notifications will be will be displayed on the user’s desktop screen like a pop-up SMS If this option is selected, notifications will be sent via SMS Send notifications only to contacts who have access to credentials or devices If this option is selected, the notifications are sent only to contacts who have access to credentials or devices infoThe following sections of this chapter will teach you how to configure the three types of notification.
On the Notification tab, click on the Add button to include a notification type
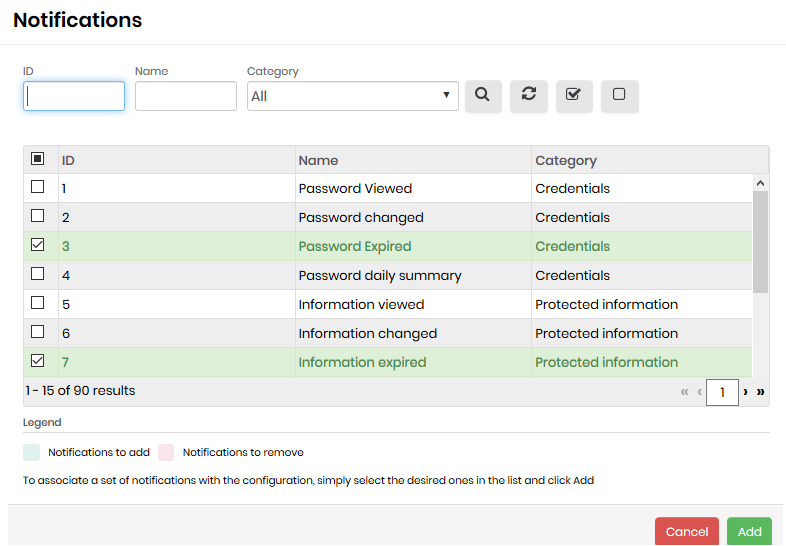
Image: List of notification types Select the notification types to be added
Click on the Add selected button
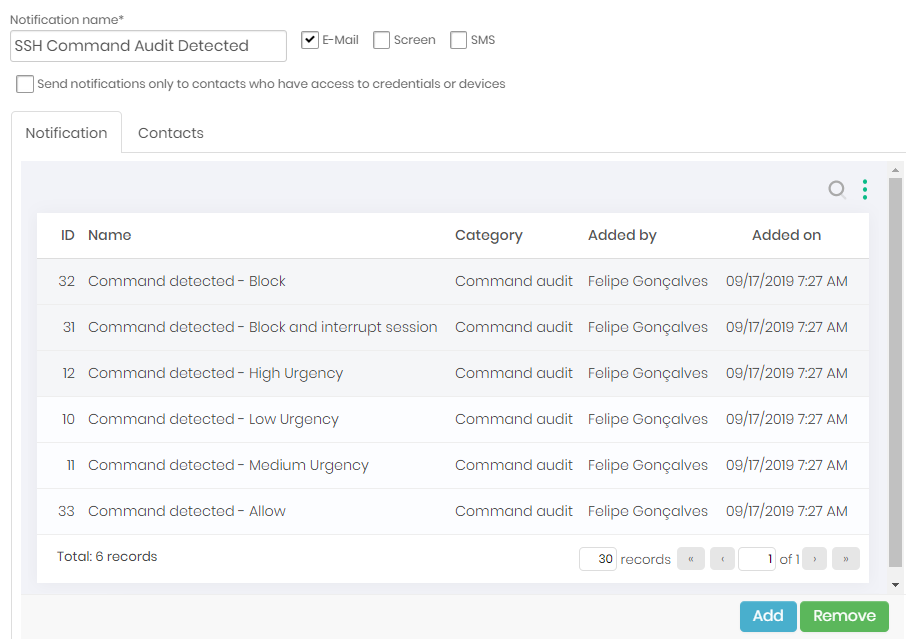
Image: Notification configured with types of alert On the Contacts tab, click on the Add button to include the contacts that will receive the registered alerts
Select the contacts to be added
Click on the Add selected button
Click on the Save button to complete the registration.
Sent notification list
To list sent notifications, follow this step, access the menu: Settings ➔ Notifications ➔ List sent.

On this screen, you can view the list of sent notifications along with a series of information, such as sending date, notification method, message content and number of notified users.
In addition, you can perform some operations such as approving or disapproving access and viewing the notification details.