Deploy senhasegura on Azure
- Using Azure Storage Explorer upload the senhasegura image in VHD format to the storage account.
In this example, a directory was created in Blob Container before upload - Blob Storage Quickstart
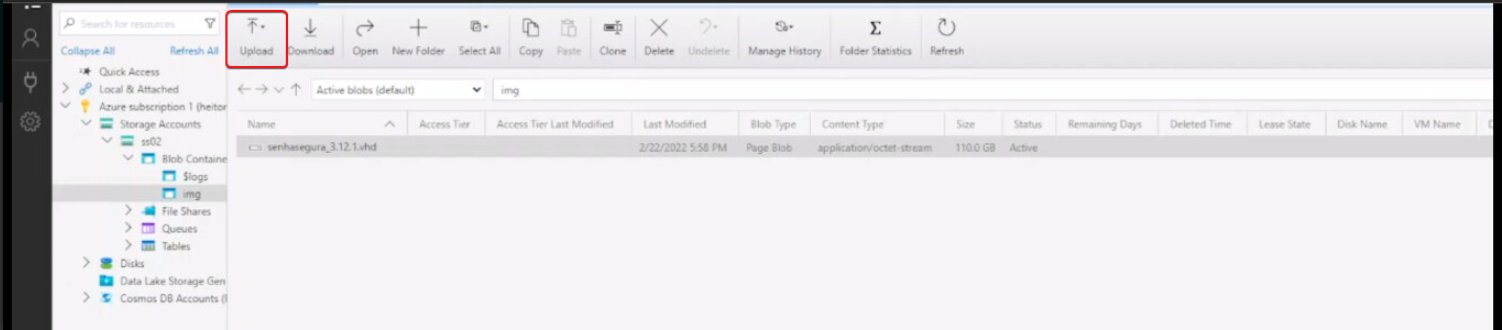
You can find the VHD in our Support Portal
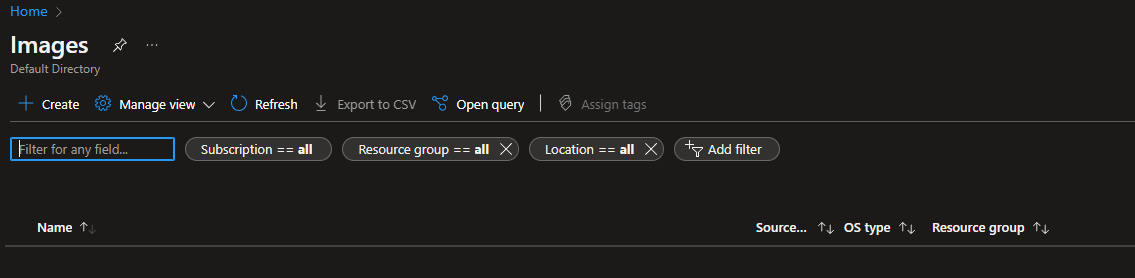
- Create an image in Azure from the VHD , go to Images and select Create.
- Enter the required information.
Enter the instance information in Instance details.
In OS type , select Linux.
In VM generation select Gen 1.
In storage blob, select the storage where the image is saved.
In Account type select Standard HDD.
In Host caching select Read/write.
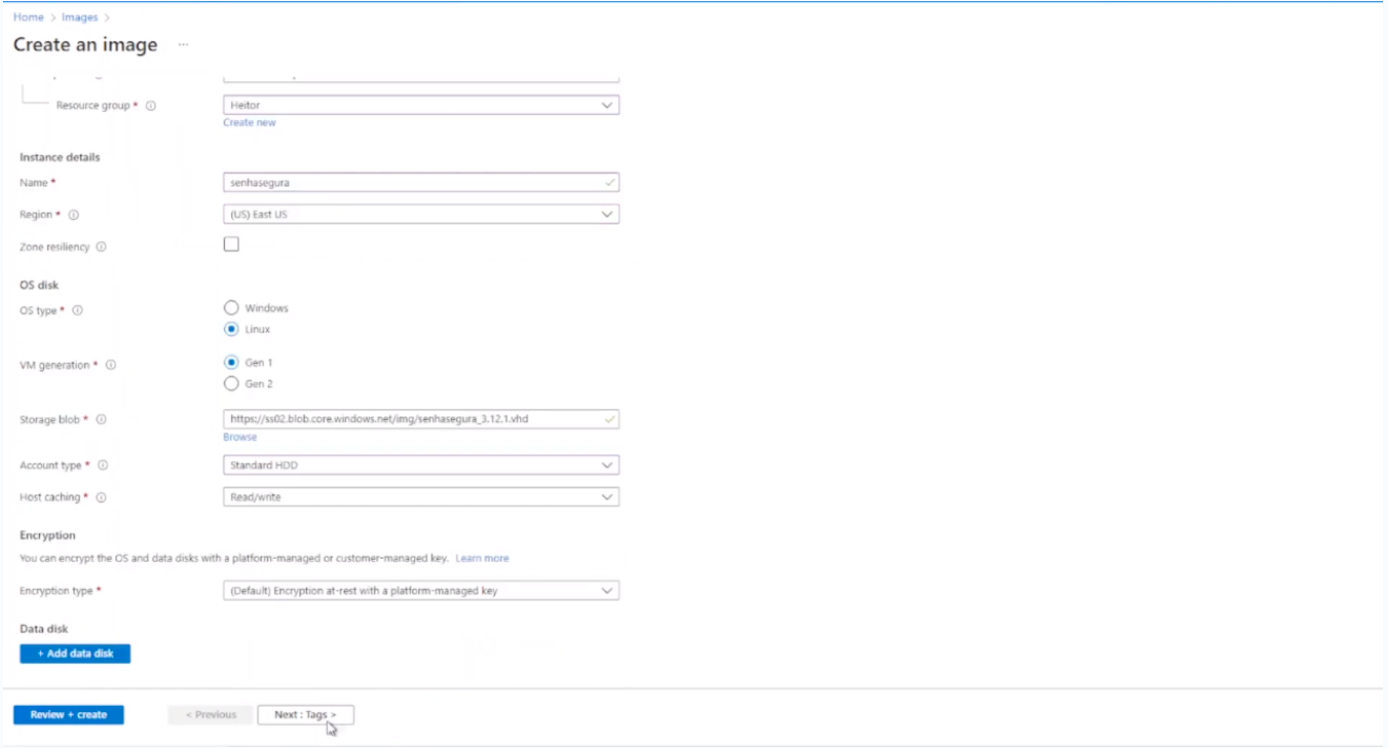
Click in Next button until the Create button is displayed.
Wait for the image to be created, and then click the “Go to resource” button.
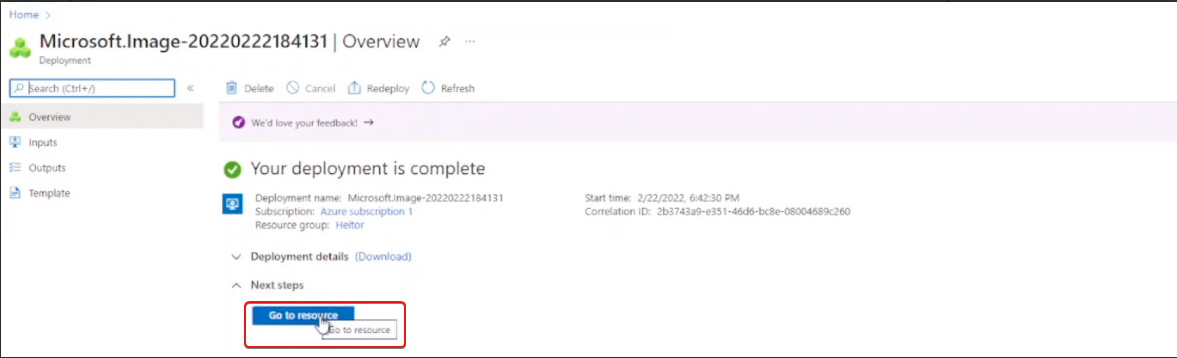
Image Ready to be Used
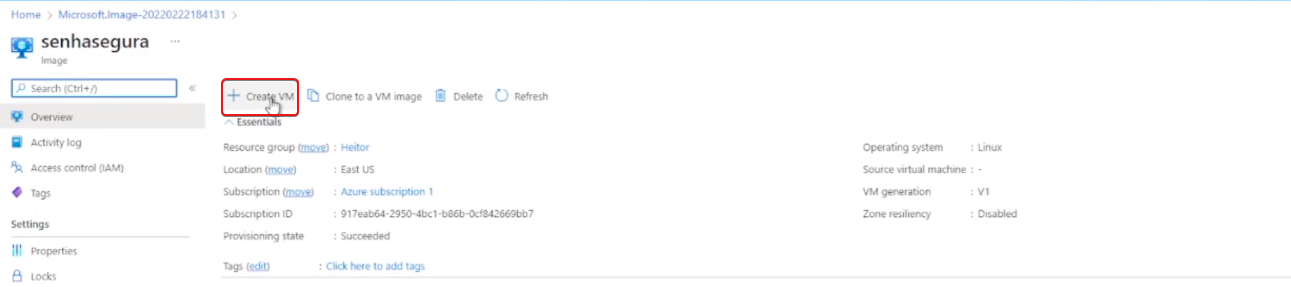
- Click on the Create VM button.
Fill in the required information.
In Size, select the size corresponding to the project.
In “Administrator account” select the password and fill in the required information.
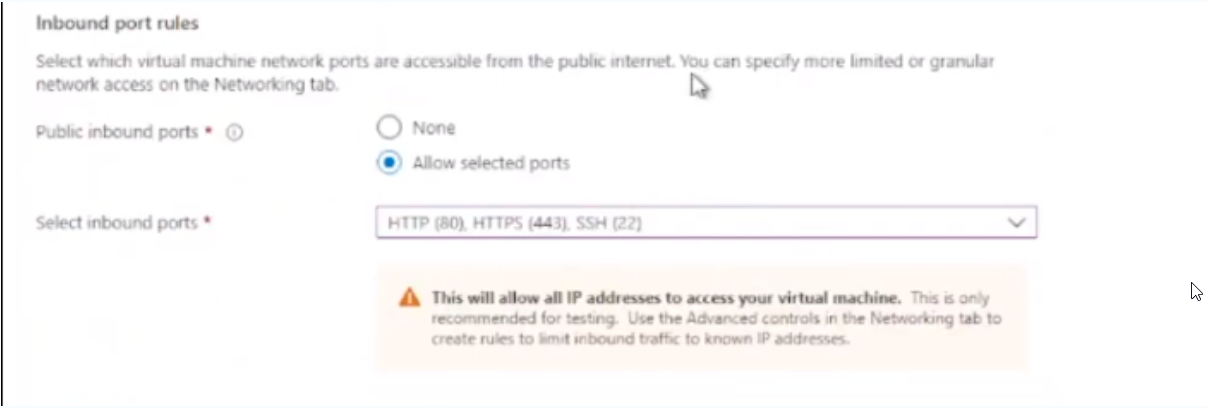
In “Inbound port rules” select the ports for the initial access to senhasegura, HTTP 80, HTTPS 443, AND SSH 22. Other ports can be added according to the type of each project.
Network Rules Click in "Next: Disk" and then “Next: Networking”.
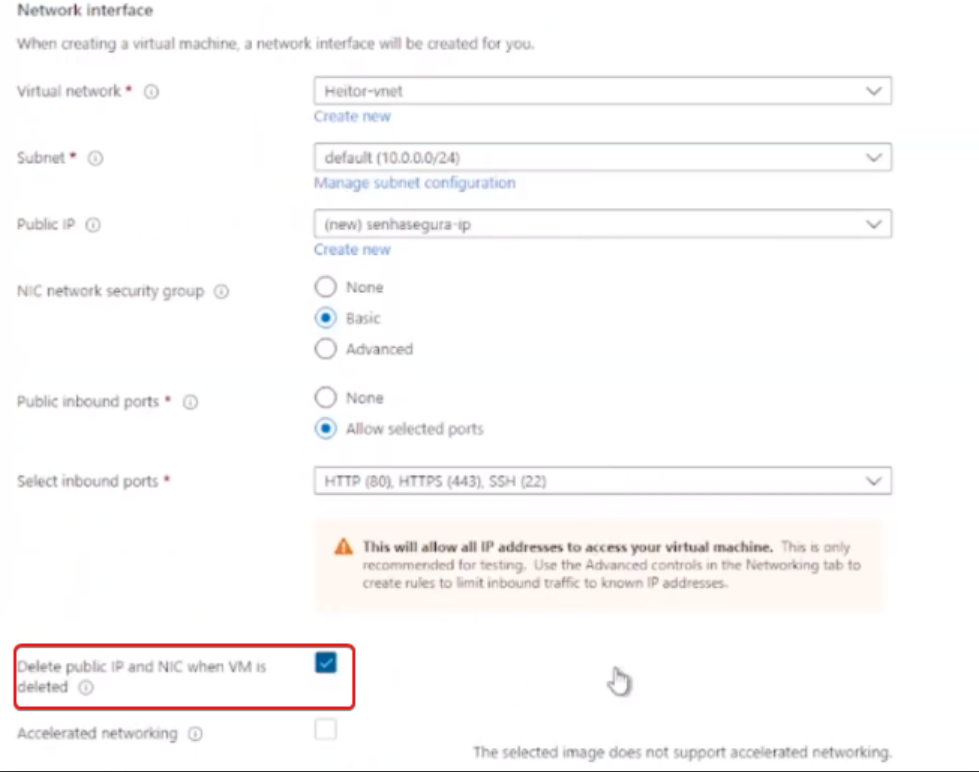
In “Network interface”, fill in the required information.
Active the selection box “Delete public IP and NIC when VM is deleted”.
Click on the “Next: Management” button.
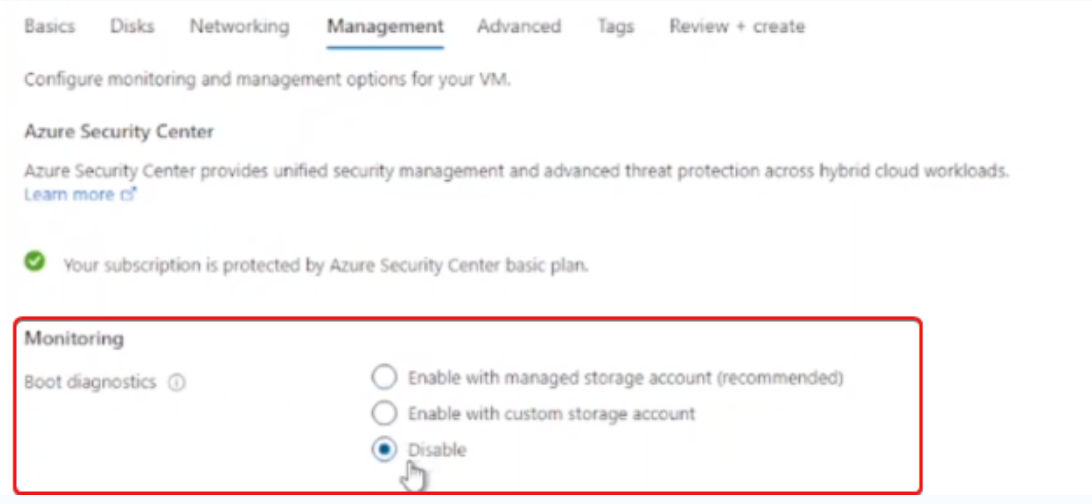
In Management select Disable at “Monitoring - Boot diagnostics”.
Disable Monitoring - Boot diagnostics Click on the Next button until the Create button is displayed.
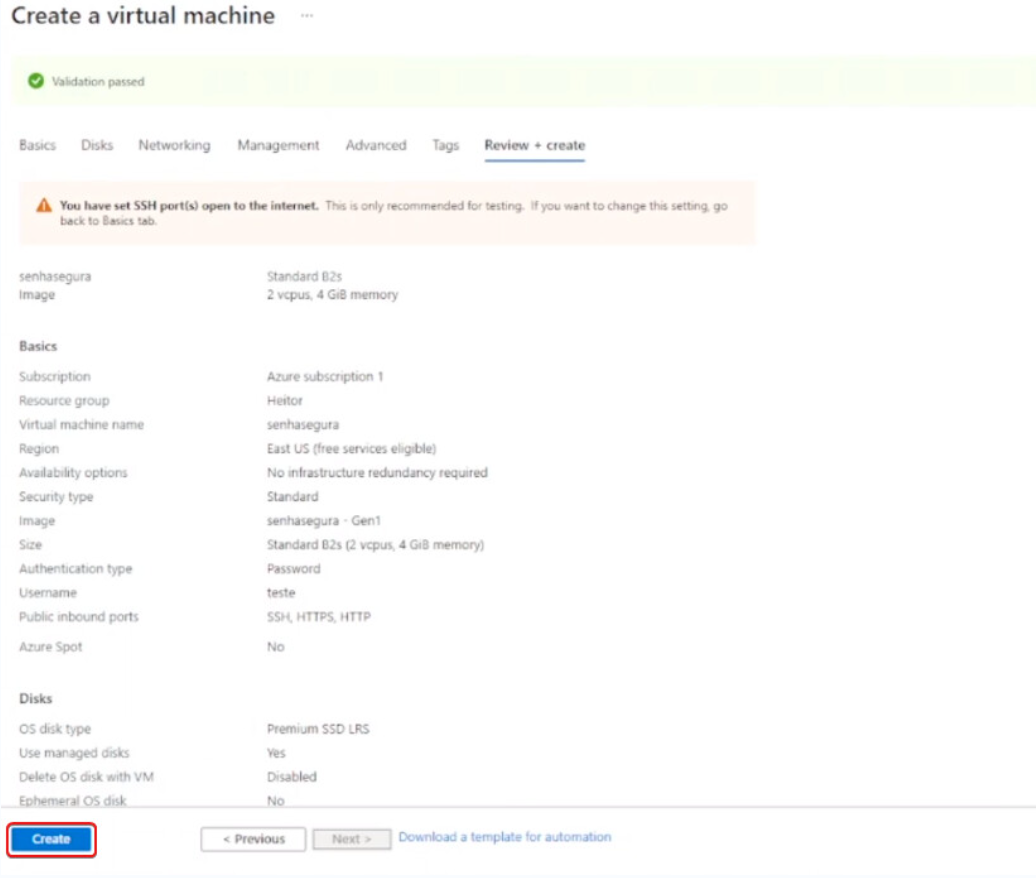
Create VM
- Wait until the VM creation is concluded.
- Access"Virtual Machines" and copy the Public IP address to access the senhasegura.